As a child, I was captivated by Dr. Seuss’s whimsical tale of “The Cat in the Hat.” The mischievous feline’s iconic red-and-white striped hat became an enduring symbol of childhood imagination and adventure. Inspired by my own fond memories, I embarked on a journey to recreate this beloved headpiece with nothing more than paper, glue, and a touch of creativity.
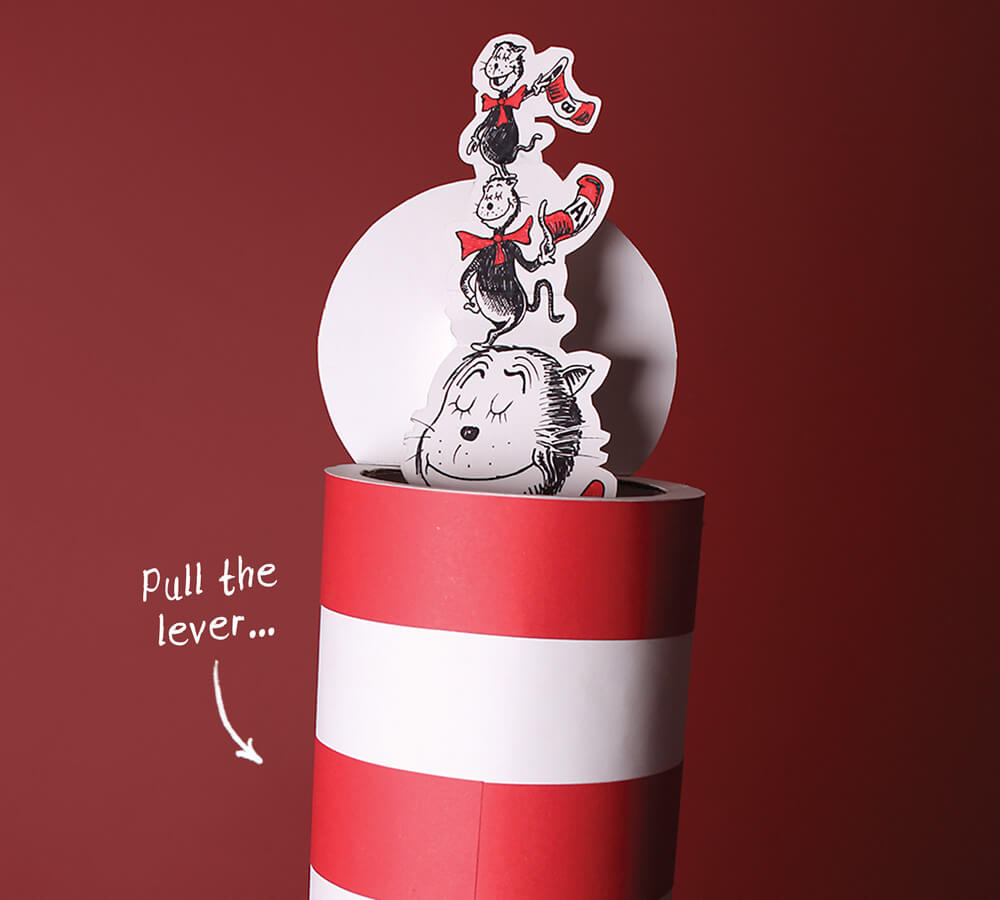
Image: atelier-yuwa.ciao.jp
Today, I am excited to share my step-by-step guide on how to make a Cat in the Hat hat with paper, empowering you to bring a touch of Seussical charm into your own life or to delight your young loved ones.
The Art of Paper Hat-Making: A Timeless Tradition
The art of crafting hats from paper has been passed down through generations, offering a cost-effective and eco-friendly way to accessorize. From traditional Japanese origami cranes to elaborate Victorian bonnets, paper hats have adorned heads and sparked imaginations for centuries. Our Cat in the Hat hat will join this rich tradition, capturing the essence of a beloved literary character while showcasing the versatility of paper as a creative medium.
Materials Required:
- Red construction paper
- White construction paper
- Black marker
- Scissors
- Glue or glue stick
- Stapler (optional)
Step-by-Step Instructions:
1. **Create the Hat Base:** Cut two large circles from the red construction paper, ensuring they are identical in size. Overlap the circles slightly and glue them together along one side. This will form the base of our hat.
2. **Craft the Stripes:** Cut out long, narrow strips of white construction paper, approximately 1-2 inches wide. Align the strips vertically on the red hat base, alternating between white and red. Trim any excess paper at the top and bottom.
3. **Shape the Brim:** Fold the brim of the hat upwards to create a curved edge. Secure the brim with glue or staples for added durability.
4. **Draw the Face:** On a separate piece of white construction paper, draw the Cat in the Hat’s face, including his wide eyes, bushy eyebrows, and mischievous grin. Cut out the face and glue it to the front of the hat.
5. **Assemble the Hatband:** Cut two strips of black construction paper and glue them together end-to-end to form a ring. Wrap the ring around the base of the hat and glue it in place. This will create the signature hatband.

Image: www.pinterest.com
How To Make Cat In The Hat Hat With Paper
Tips and Expert Advice:
1. **Experiment with Paper Colors:** While the traditional Cat in the Hat hat features red and white stripes, feel free to customize yours with different colors. Yellow, blue, green—the possibilities are endless!
2. **Consider a Feather Accent:** For an extra touch of flair, add a feather to the side of the hat using glue or a staple. Choose a feather that complements


